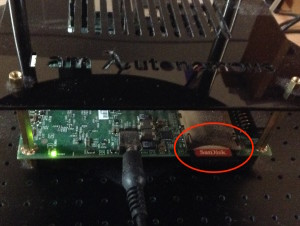
The Deep Learning Robot comes with 16Gb built-in flash on the Jetson TK1 board. That’s fine to begin with, but after downloading a few Caffe models, you’ll be out of space. Fortunately, the TK1 comes with an SD Card slot for adding extra storage. This post describes how to add and configure an SD Card to give yourself more room.
Autonomous Deep Learning Robot
Docking and Recharging the Deep Learning Robot
The Kobuki charger costs an extra $49 when you buy the Deep Learning Robot and is well worth throwing into the package. With a few simple commands you can get your robot to dock and recharge itself, providing it is in the general vicinity of the charging station. The following is adapted from the Kobuki / ROS tutorials.
Here’s a video of docking place in my crowded living room. Please forgive the baby noises:
Robo-makers: Deep Learning Robot Demo – ROS and Robotic Software
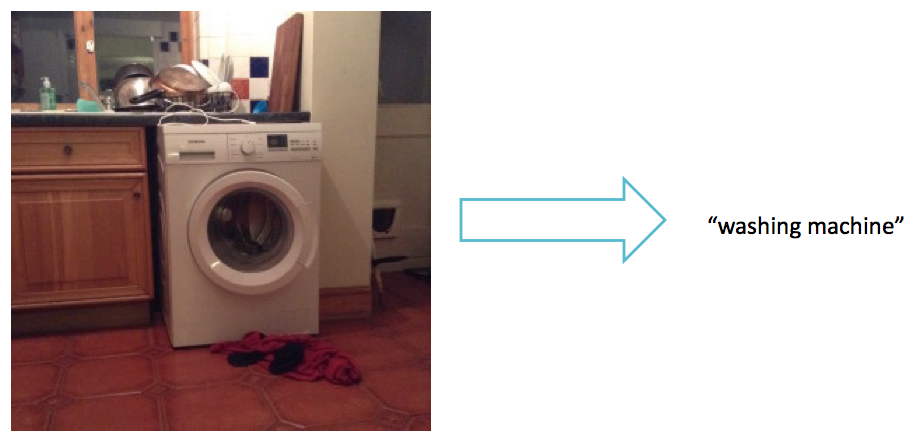
A Deep Learning Robot that recognises objects
Saturday night at home. The Deep Learning Robot “Dalí” now trundles round the house identifying objects and saying their names, with variable success. In the video you can hear it identify correctly “cradle”, “studio couch”, “lampshade” and “home theatre” (it’s an American neural network). However there’s a surreal moment when it sees a non-existent “grand piano”.
The object recognition is with Caffe as described previously, with a few new ROS nodes to do the speech. More details as soon as I have a proper fix for the Bluetooth Speaker pairing issue.
The Art of Seeing: Integrating ROS, Caffe, OpenCV on the Autonomous Deep Learning Robot

The frustrating thing about robotics is the amount of time you have to spend on problems that aren’t really to do with robotics at all. The Autonomous Deep Learning Robot comes with OpenCV4Tegra, a specially accelerated version of the OpenCV vision library. It comes with Caffe, a neural network tool that allows you to do pretty good object recognition. It also comes with Robot Operating System (ROS).
So how hard should it be to make these work together and get your robot to recognise the objects that it sees?
HARD!
Set up your Autonomous Deep Learning Robot to work with the Mac
This short post describes how I’ve set up the Autonomous Deep Learning Robot to work with the Mac. The main things you gain are
- Use of Bonjour / Zeroconf to refer to your robot by name not IP address.
- Transfer of files to and from the Jetson TK1 using Finder on MacOS X.
Autonomous Deep Learning Robot – the missing instructions

The Autonomous Deep Learning Robot from Autonomous Inc is a bargain price Turtlebot 2 compatible robot with CUDA-based deep learning acceleration thrown in. It’s a great deal – but the instructions are sparse to non-existent, so the idea of this post is to both review the device and fill in the gaps for anyone who has just unpacked one. I’ll be expanding the article as I learn more.
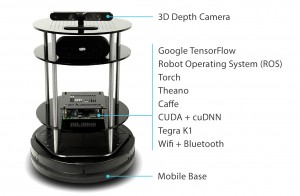
First, a little about the Turtlebot 2 compatibility. Turtlebot is a reference platform intended to provide a low-cost entry point for those wanting to develop with ROS (Robot Operating System). ROS is essential for doing anything sophisticated with the robot (e.g. exploring, making a map). There are various manufacturers making and selling Turtlebot-compatible robots all based around the same open source specifications. In actual fact, the only really open source part of the hardware is a collection of wooden plates and a few metal struts. The rest comprises a Kobuki mobile base and a Kinect or ASUS Xtion Pro 3D camera. Read a good interview with the Turtlebot designers here. On top of this, Autonomous throw in a bluetooth speaker and an Nvidia Jetson TK1 motherboard instead of the usual netbook.


